What the cutout keeps and what it misses
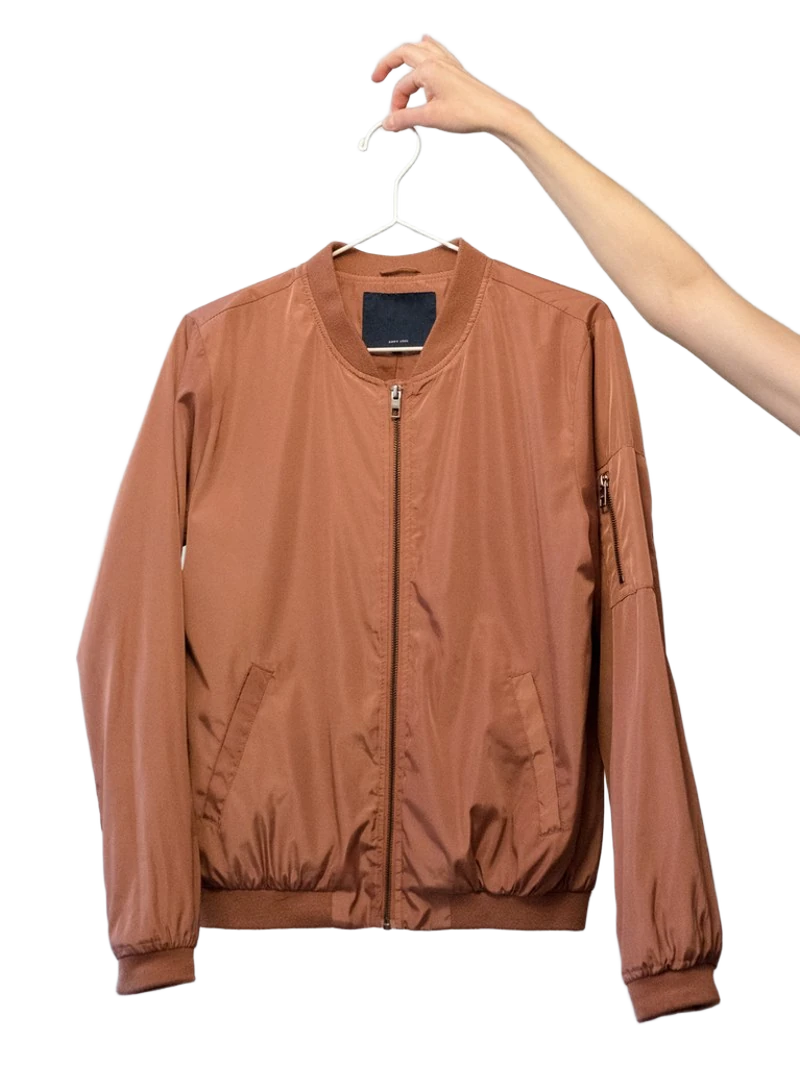
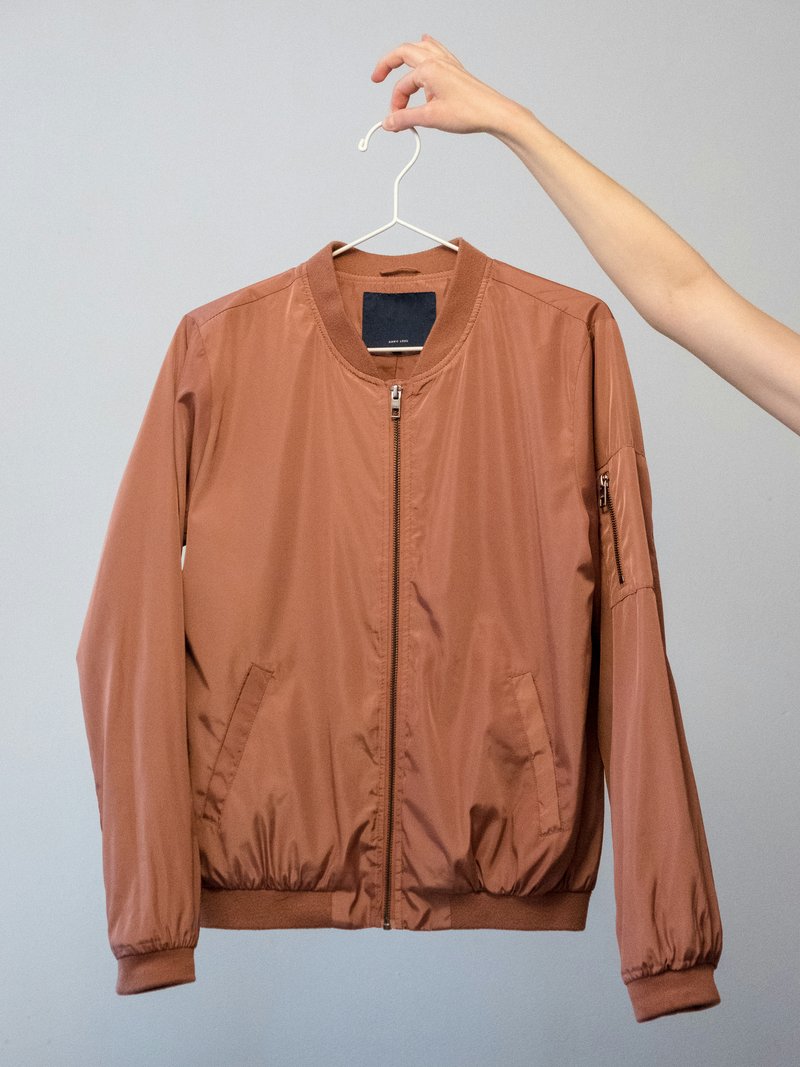
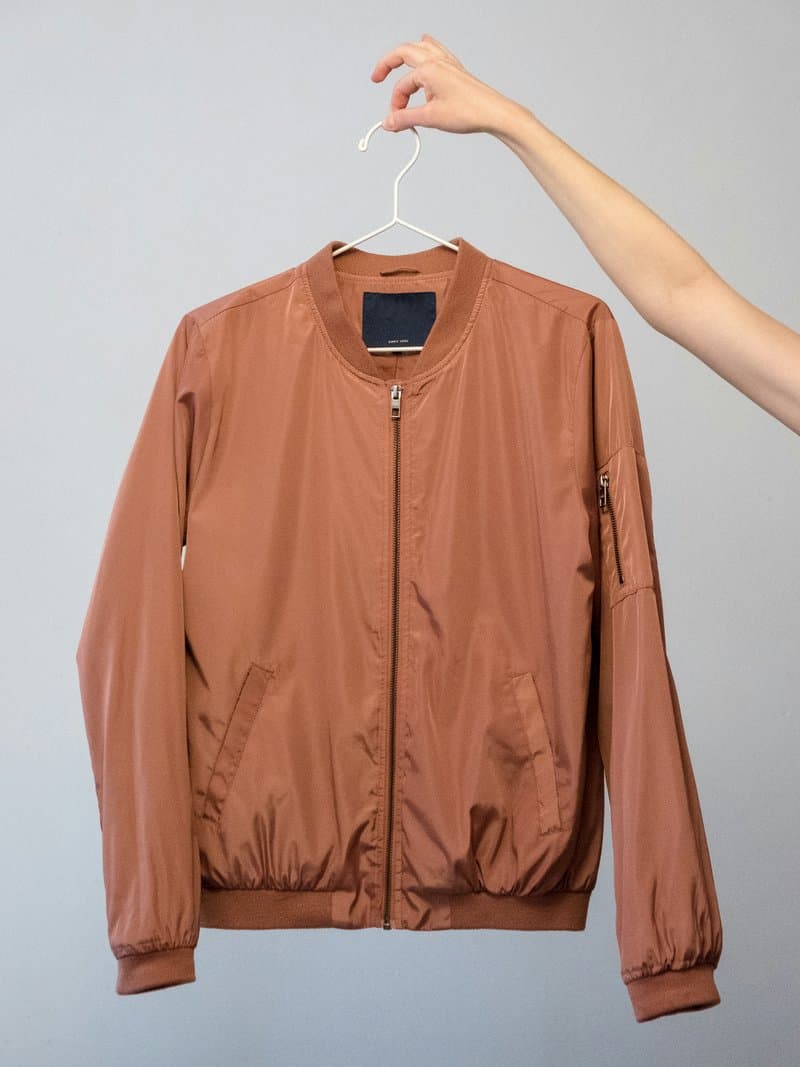
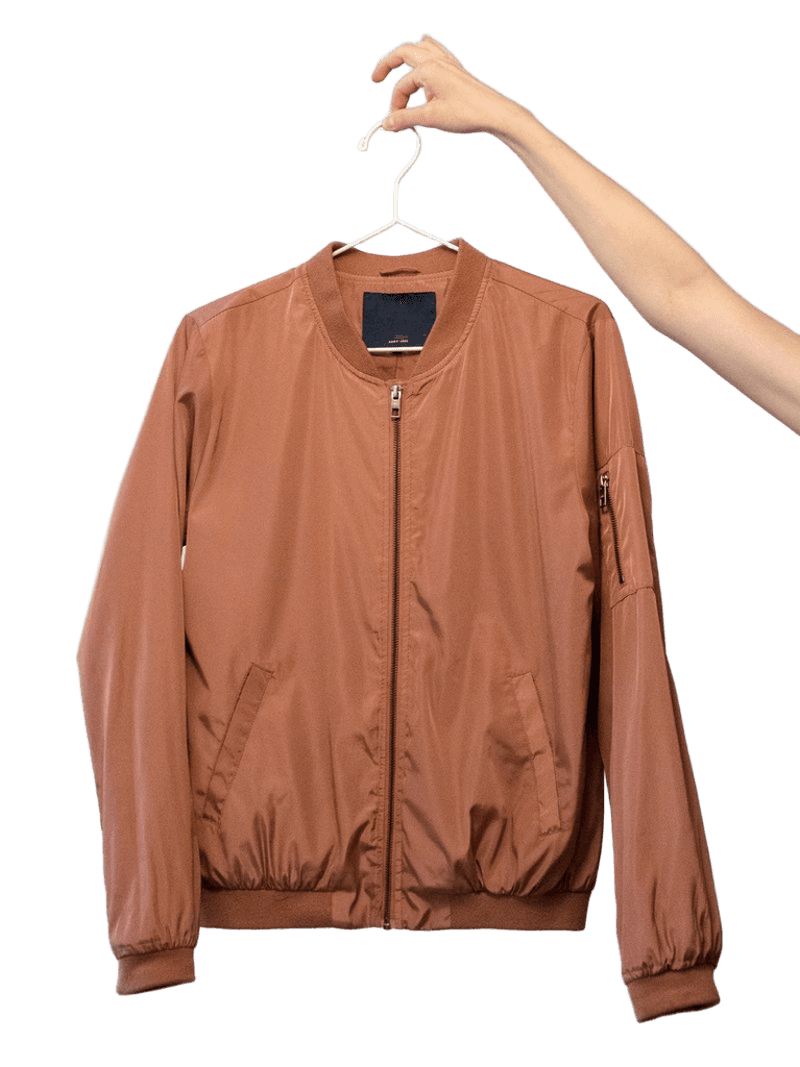
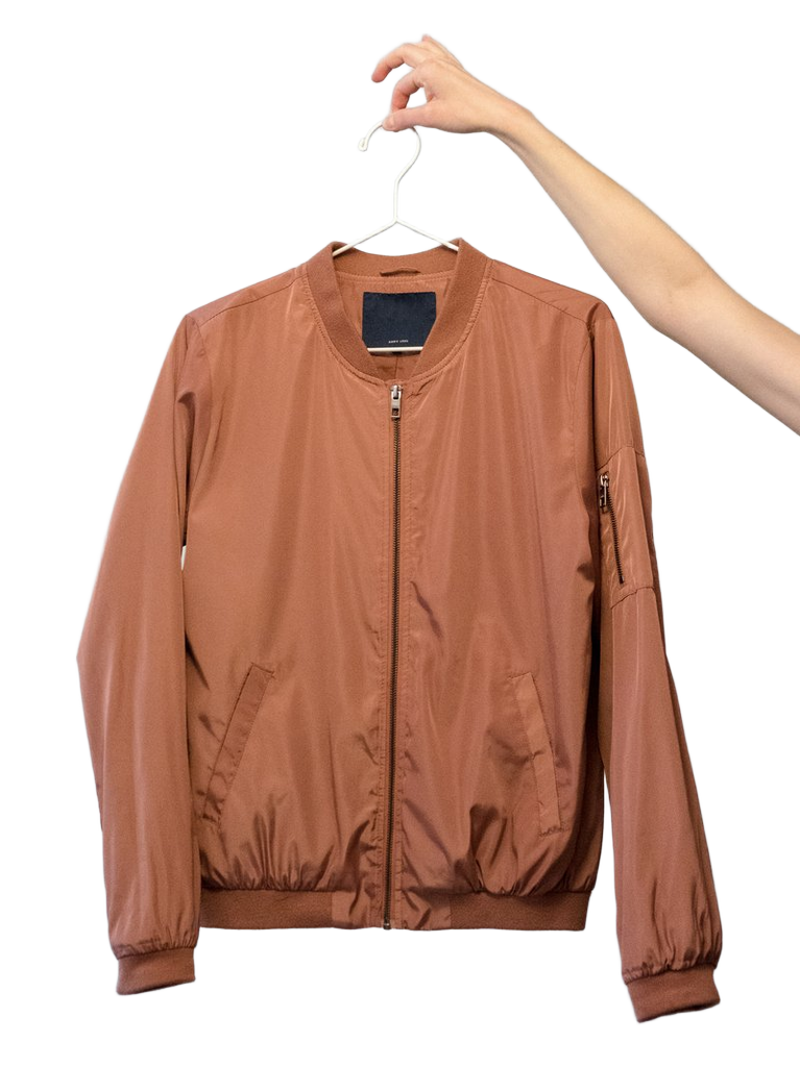
The sample is an 800 by 1067 pixel photo of a brown bomber jacket held up on a wire hanger against a white wall. After automatic removal, the jacket, zips, pocket seams, cuffs, and the dark neck label are kept, and the wall around the garment is transparent.
The model also keeps the person's hand, forearm, and the hanger, because they are solid objects attached to the jacket. That is not a removal error, but it is not a product photo yet. Look closely along the left side as well: where the sleeve hangs slightly away from the body, a narrow strip of white wall is visible in the original and remains in the cutout. On a white listing background you will not notice it; on a colored background it shows as a pale line.
Remove the hand, arm, and hanger
Background removal decides what is foreground; it cannot invent fabric that a hand or hanger was covering. If a large part of the garment is hidden, a reshoot will look better than a repair.
- Choose Erase and use a large brush to remove the forearm and hand where they are clear of the garment.
- Zoom to 200 percent where fingers touch the hanger hook. Decide whether to keep the hook; if you remove it, erase the hook and wire above the collar with the Fine brush.
- Inside the collar, the hanger crossbar is visible against the back of the neck. Leave it unless you will retouch the fabric behind it; erasing it leaves a hole, not hidden fabric.
- Use Restore area to repair any collar ribbing or shoulder seam you removed by mistake.
Find backdrop trapped inside the garment
Clothing creates small enclosed gaps: between a sleeve and the body, inside a neck opening, under a belt loop, or between the straps of a dress. The wall seen through those gaps is background, but it is surrounded by fabric, so it is easy to miss.
- Turn on Edge check and cycle through the contrasting backgrounds. A pale or dark patch that does not move with the fabric is usually trapped backdrop.
- Compare with the original before erasing. A white lining, label, or tag can look like wall at thumbnail size.
- Erase the gap with a brush slightly smaller than the opening, then recheck on white and a dark color.
Hanger, mannequin, or flat lay
Whichever setup you use, keep it the same across a collection so every product page lines up after the backgrounds are replaced.
| Setup | What the cutout will keep | What to plan for |
|---|---|---|
| Hanger held by hand | The garment, hanger, and hand | Erasing the hand and hook; trapped wall between sleeve and body |
| Hanger on a hook or rail | The garment and hanger | Removing the hook if you want a clean silhouette |
| Mannequin or dress form | The garment and the mannequin | A ghost-mannequin look needs a second photo of the inside back of the garment, composited in a photo editor |
| Flat lay on a plain surface | The garment with soft folds and its contact shadow | Keeping enough contrast between pale fabric and the surface |
Shoot clothing that cuts out cleanly
Choose a backdrop that contrasts with the garment: a white shirt on a white wall gives the model little edge to find. Steam out large creases, button or zip the garment as a customer would see it, and leave space around sleeves and hems so nothing touches the frame edge.
Removing the background does not change fabric color. A warm wall or mixed lighting can tint pale garments, and that tint stays after removal. Shoot in neutral light and compare the result with the real garment before listing.