A controlled white-on-white case study
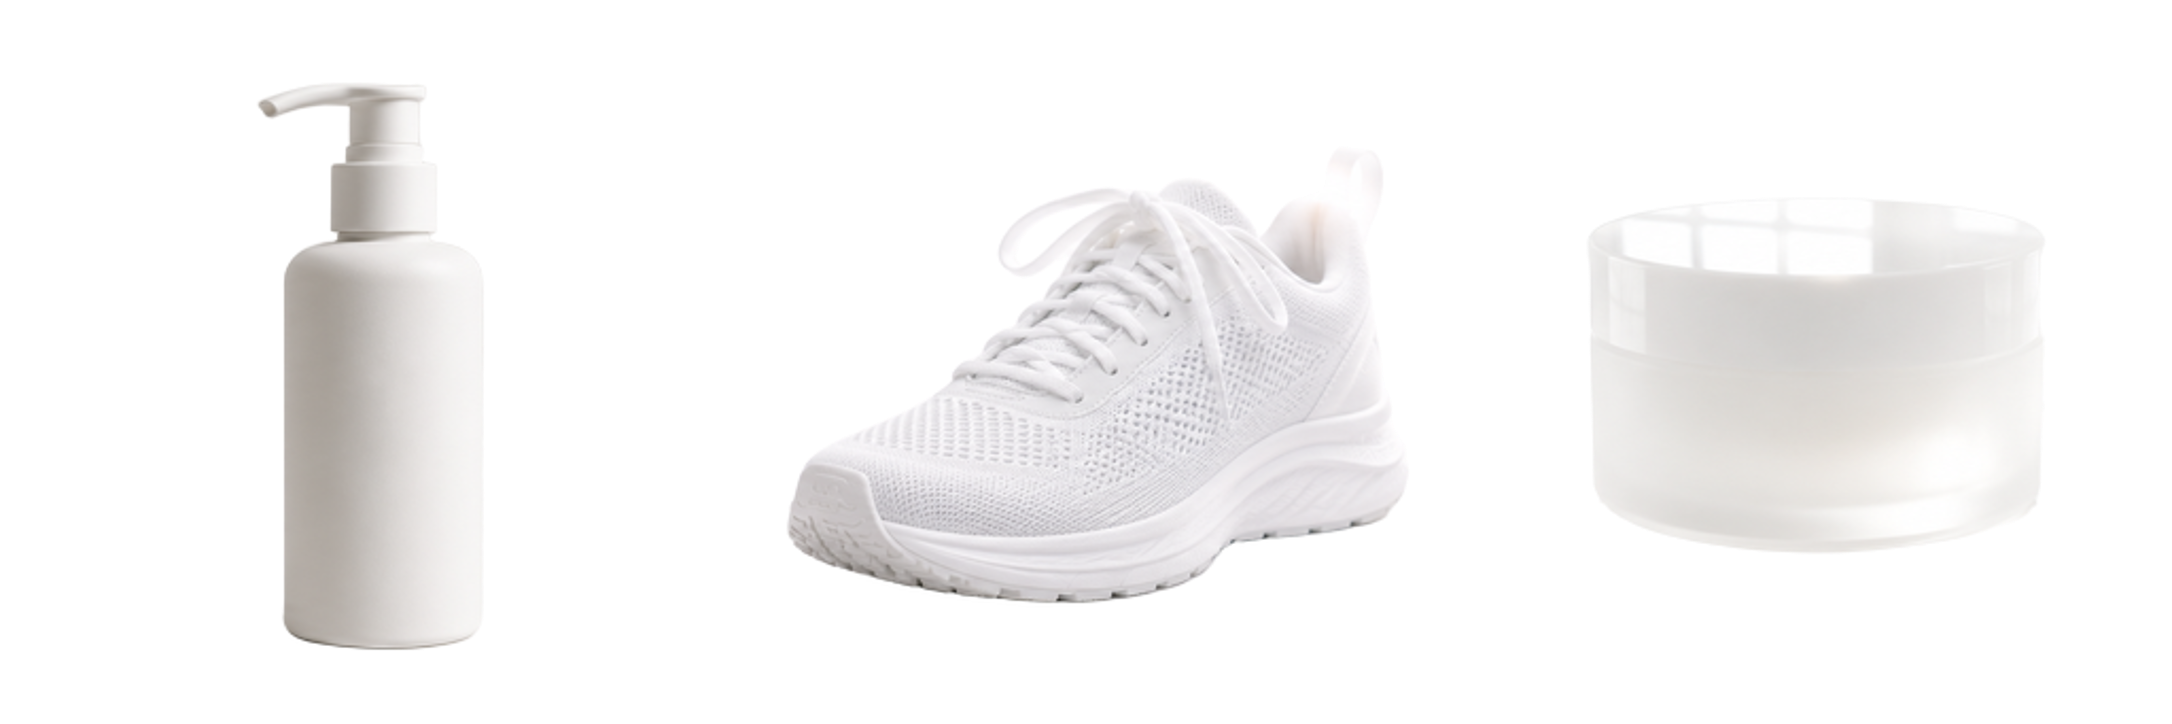
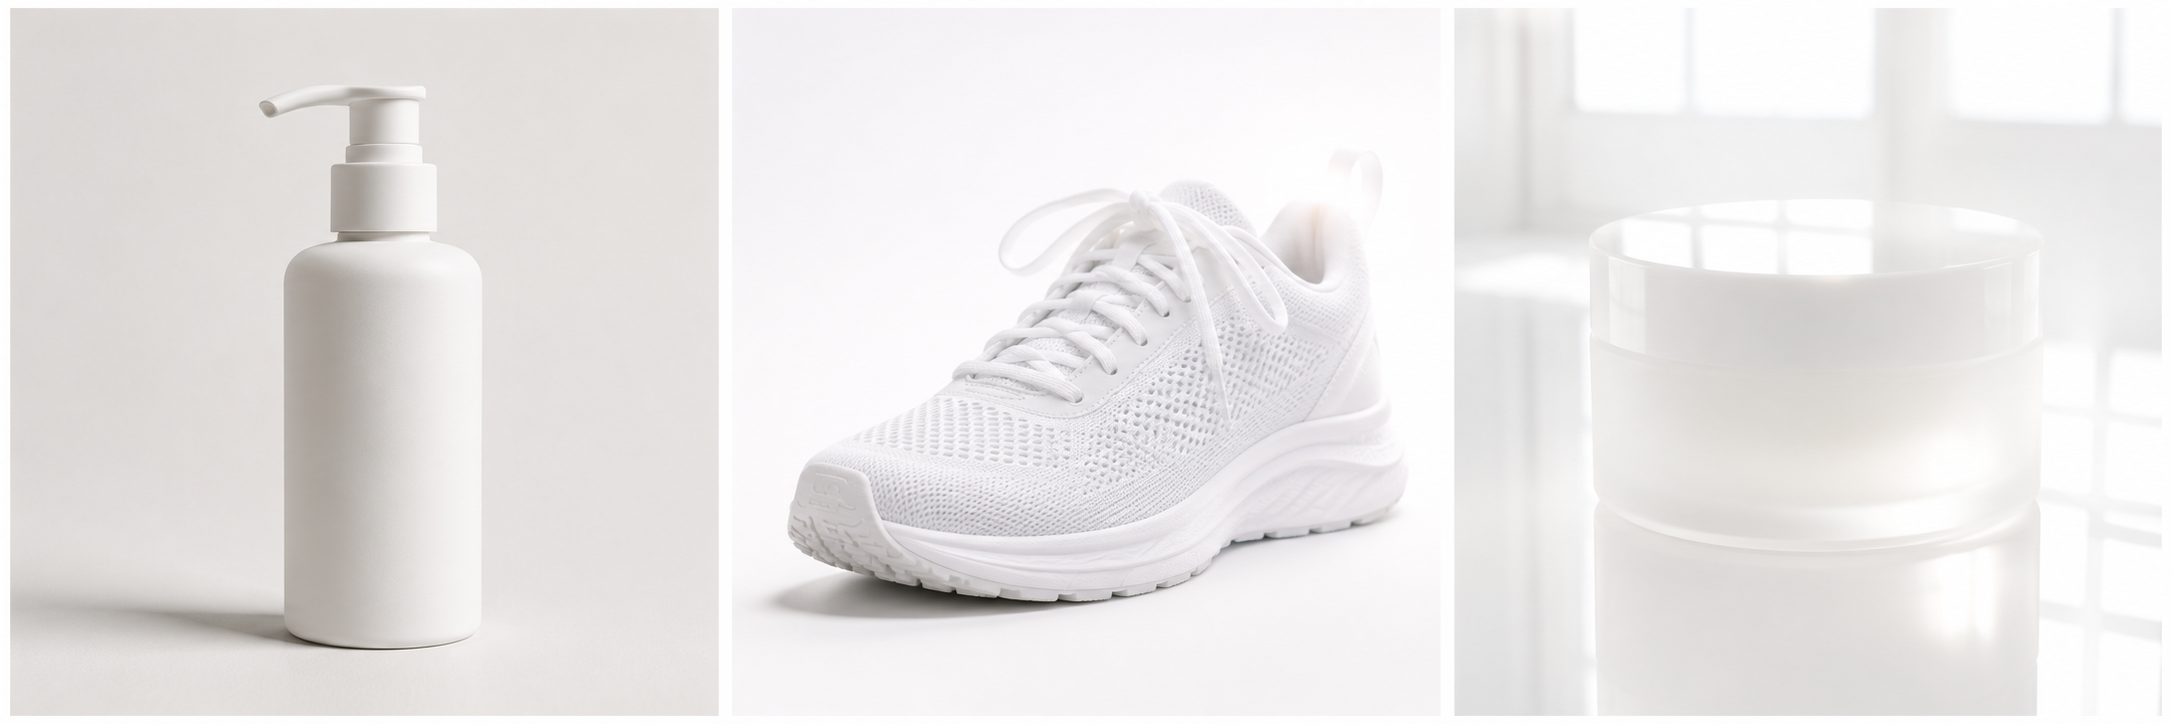
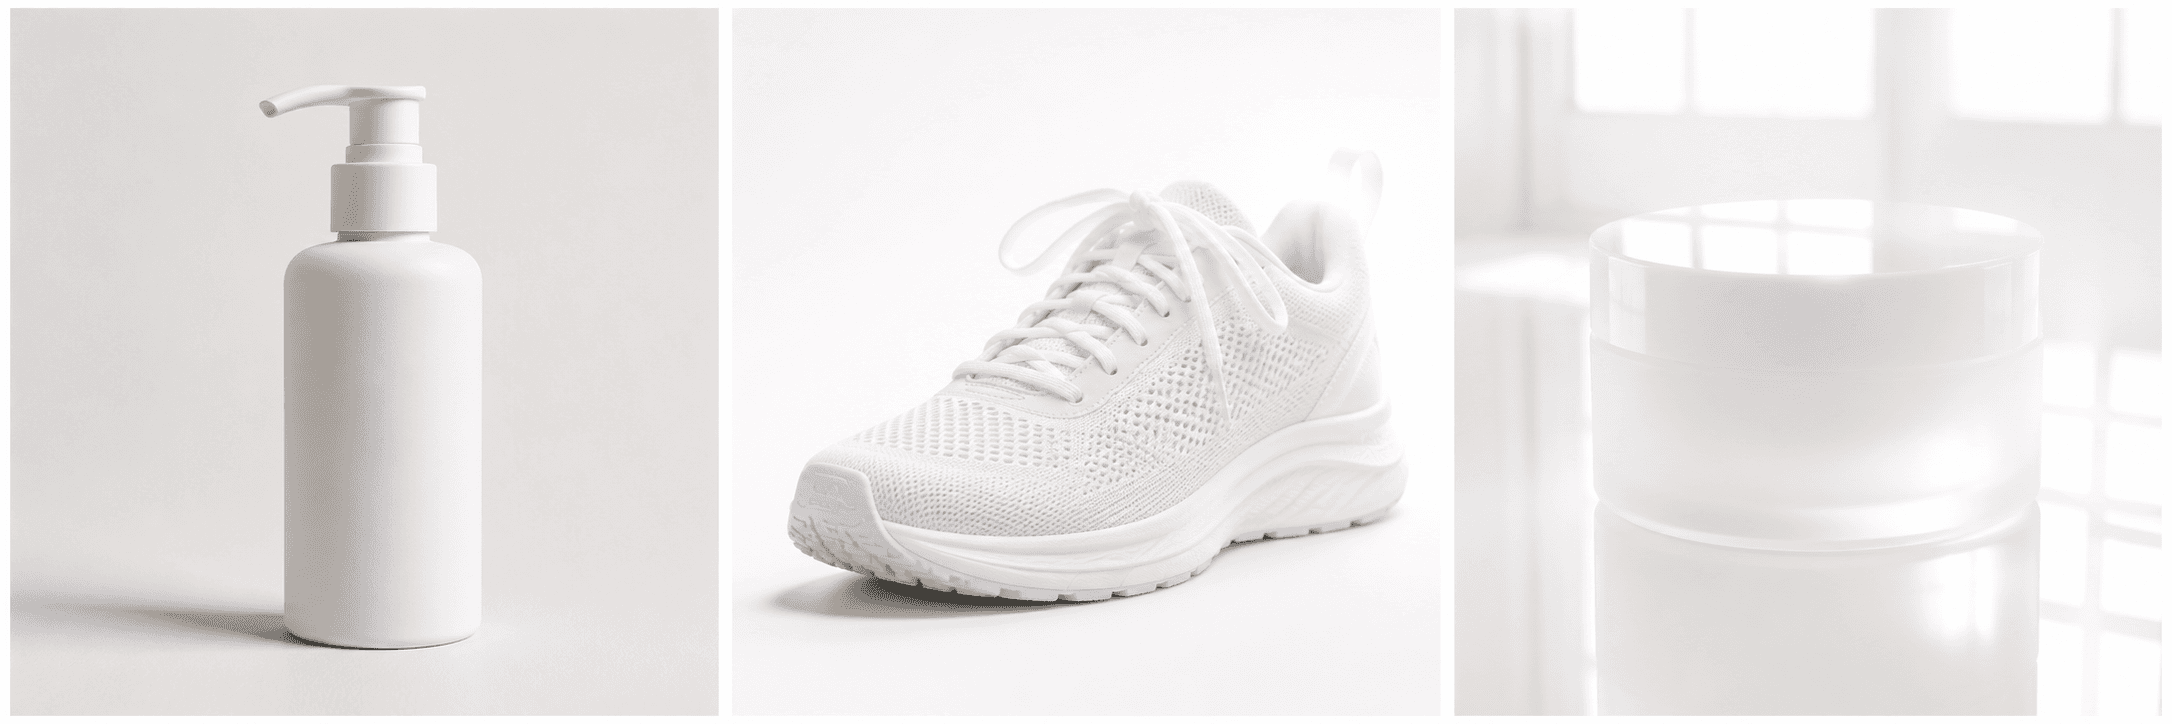
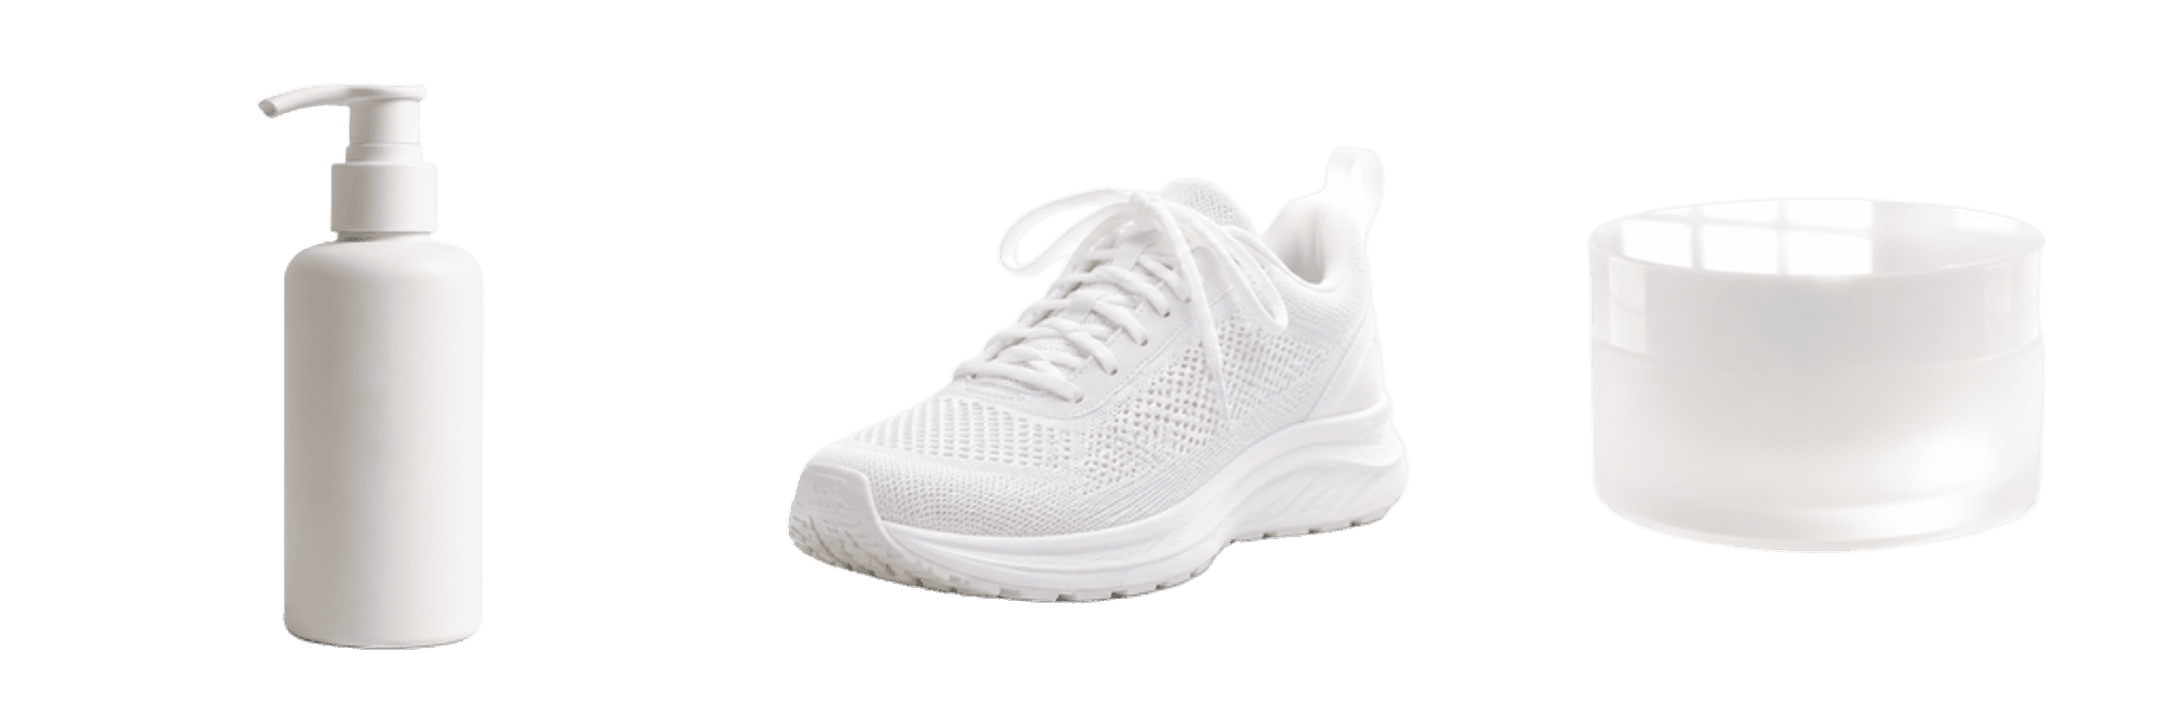
We created one 2172 by 724 pixel synthetic illustration containing a pump bottle, a running shoe, and a frosted jar, then processed the composite in Cutout Lab's web editor with automatic removal and no brush corrections. The paired images are the source and the downloaded PNG output. The removal output is real, but the depicted products and lighting are synthetic. This is one composite-image run, not three independent tests.
The useful question is not whether the output looks convincing as a thumbnail. It is which source details remain, where the outline needs inspection, and what cannot be concluded without further testing. The observations below are a visual review of this specific pair, not measurements against a ground-truth mask.
| Region | Visible result | What remains unproven |
|---|---|---|
| Bottle pump and body | The overall shape remains, with a pale rim visible around parts of the pump against a dark background. | Whether the rim is acceptable at the intended listing size; this is not an edge-perfect pass. |
| Shoe lace loop, mesh, and sole | The loop opening and visible mesh pattern remain; pale outlines still need close inspection. | How much cleanup is needed. No brush correction was attempted, so repairability and correction time are unknown. |
| Frosted jar rim and interior | Window-shaped bright detail remains inside the isolated jar. | Its physical optical cause. A synthetic illustration cannot establish whether it represents reflection, transmission, or refraction. |
What this test can and cannot show
This illustration demonstrates inspection, not accuracy on real catalog photography. It does not sample camera noise, physical materials, actual exposure errors, or product-label fidelity. Processing the three subjects together can also affect foreground selection; separate uploads may produce different results.
The run record identifies the date, web-editor workflow, composite source, PNG output, and absence of brush edits. It does not identify the serving backend, model revision, or a complete settings record. The linked files allow inspection of the observed result, but not an exact reproduction of the service run.
Correction time is not measured, rather than zero: no attempt was made to reach a defined acceptance standard. No ground-truth alpha mask, corrected output, or independent reviewer assessment is available. The next useful experiment is to test separate real photographs, define their destination size, and document an actual correction before claiming a repair succeeds.
Photograph white products with usable edge information
Use soft, directional light rather than flattening the scene from every direction. Leave separation between the product and backdrop, avoid blown highlights, and keep the edge in focus. A pale gray sweep or gentle shadow is often easier to remove later than a pure-white setup with no visible contour.
For shoes and clothing, preserve laces, perforations, straps, and folds. For packaging, make cap edges, embossed marks, and translucent corners readable. These are product facts, not cosmetic details.
Review the cutout against more than one background
After removal, inspect the result over black as well as white. Black reveals pale leftovers and transparent holes; white shows whether the product lost its outer contour. A checkerboard alone can make a narrow light halo look intentional.
- Compare the original and cutout at 100 percent around every pale edge.
- Check seams, laces, labels, and product openings before correcting the outer outline.
- Use Restore area for missing source detail and Erase for confirmed background. Make small changes and recheck on both backdrops.
- Export a transparent PNG master before making a white-background listing version.
Common outcomes and the right response
A clean white-background export can still be misleading if the product has been narrowed, softened, or stripped of texture. Prioritize a truthful product shape over an artificially perfect outline.
| Symptom | Likely cause | Useful response |
|---|---|---|
| The product vanishes at one edge | The original edge is clipped or lacks contrast. | Restore visible source detail; reshoot if there is no usable edge to recover. |
| A gray or colored rim appears | Original shadow, background color, or partial transparency remains. | Inspect against black, then erase only the confirmed leftover area. |
| Fabric or matte texture disappears | The source is overexposed or the mask removed weak detail. | Restore source texture if present; otherwise use a better-lit photo. |
| The result floats | The original contact shadow was removed. | Choose deliberately whether to add a consistent new shadow in the destination. |
Make one clean master before listing everywhere
Keep the transparent PNG as the reusable master. Make marketplace, social, and print versions from it rather than removing a white background again from a flattened JPEG. Destinations may need different canvases, but they should begin with the same verified product silhouette.