Two different kinds of tool
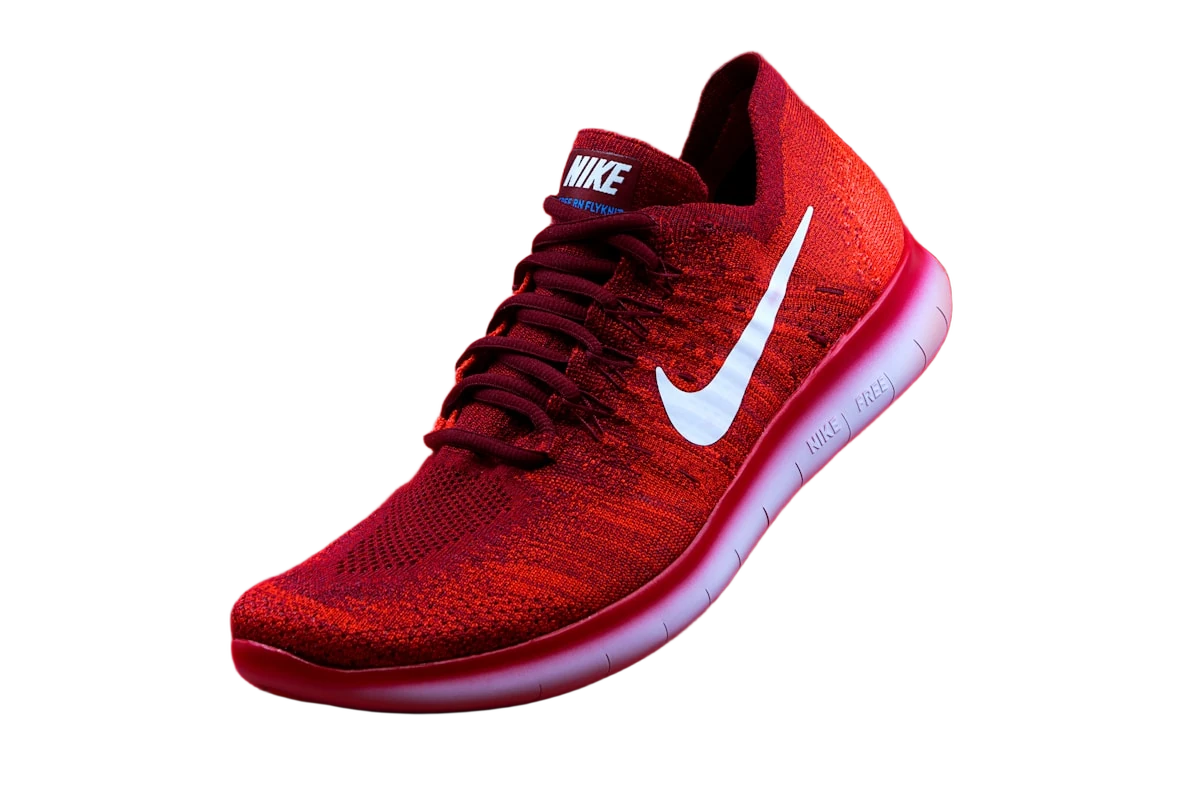
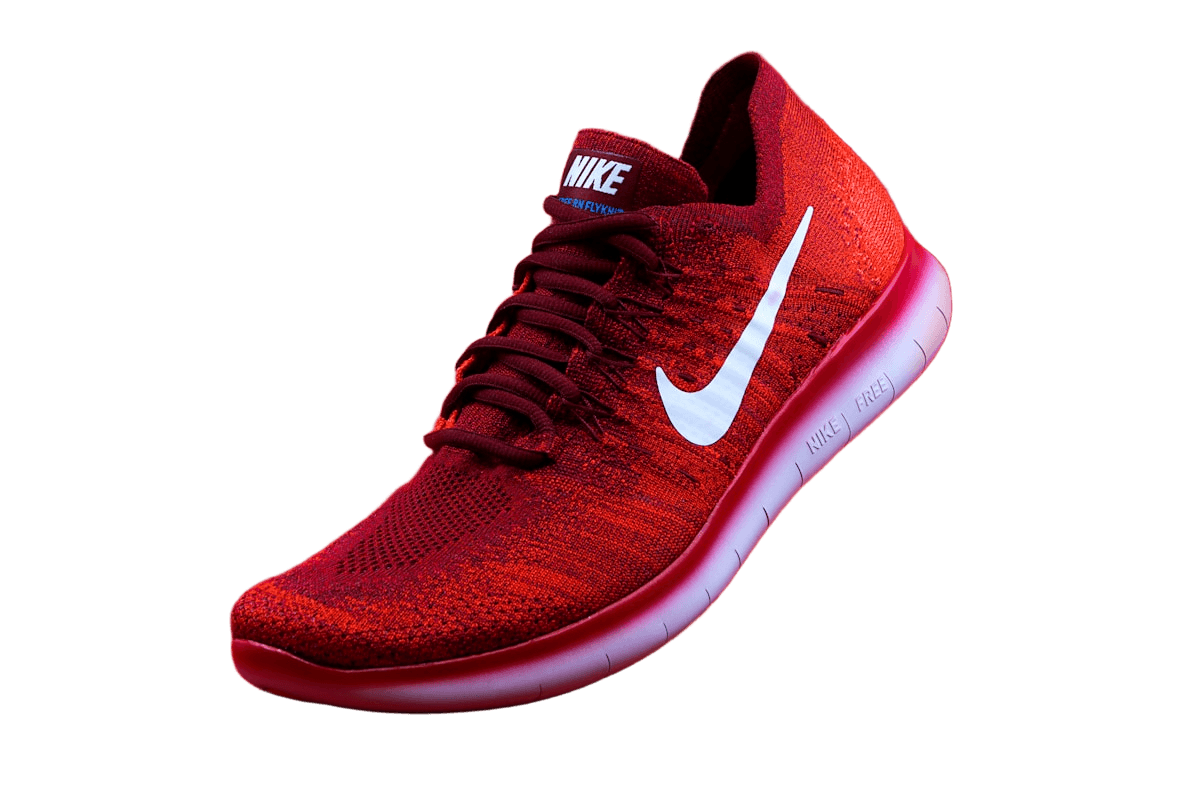
A background remover such as Cutout Labs uses segmentation. It predicts, for every pixel, how much belongs to the subject, and turns that prediction into an alpha channel. The subject's colors come from your photo.
A generative image editor takes your photo and a prompt and produces a new image. It can follow the original closely, but every pixel in the output is generated, so fine details such as lettering, logos, stitching, or a face can come back slightly different.
Neither approach is better in general. They answer different questions: "which pixels are the product?" versus "what should this picture look like?"
Where segmentation is the safer choice
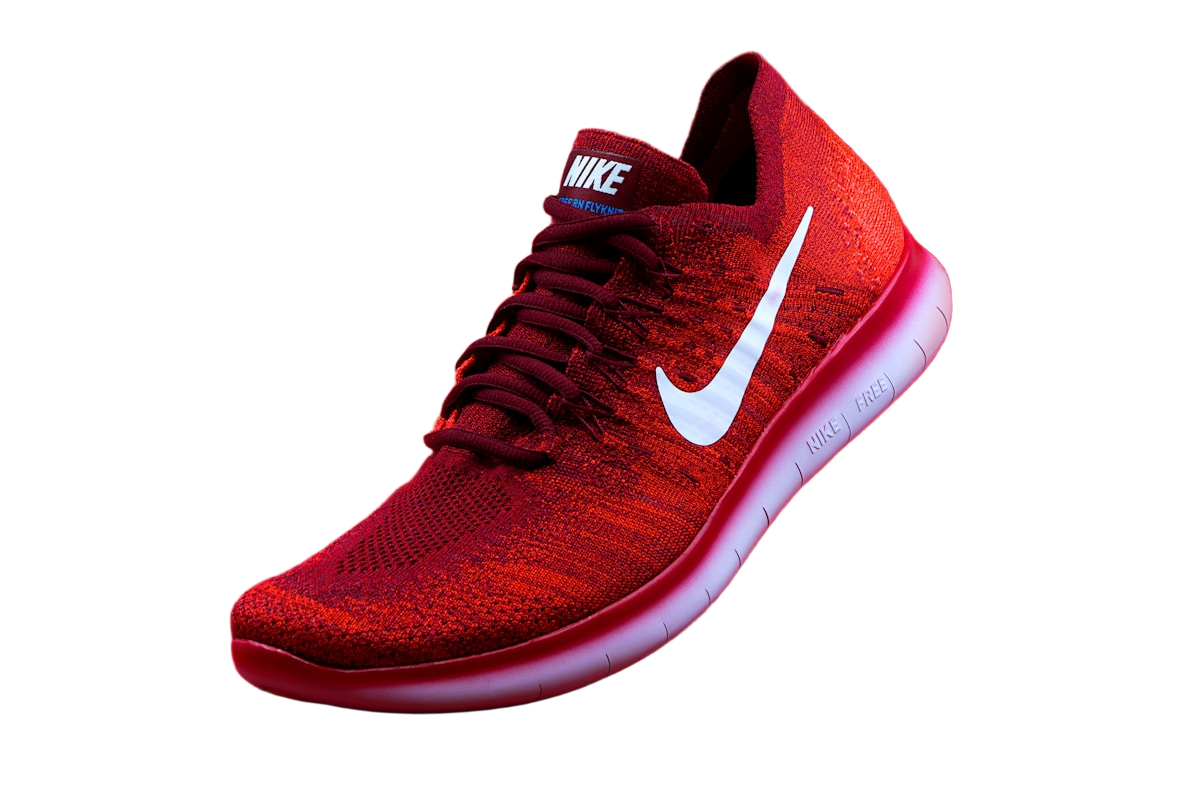
If a listing or catalog image must show the exact product a customer will receive, segmentation is the lower-risk option. Labels, small text, and logos stay as they were photographed, because the tool decides only what to hide.
Segmentation also gives you a real alpha channel. Soft edges such as hair and fur become partly transparent pixels you can place on any background, and the same transparent PNG can be reused for marketplace, social, and print versions.
What segmentation does not do
Segmentation is not pixel-perfect by definition. The mask can keep a patch of background or cut into a thin part of the product, and you still need to inspect the edges. If you resize the output, as smaller API sizes do, pixels are resampled. Optional edge clean-up recolors pixels along soft edges to remove the old background's tint.
It also cannot invent what is not in the photo. A hidden part of the product, a better studio light, or a new scene behind the subject are jobs for a photo editor or a generative tool.
Check it yourself with your own photos
Generative tools change often, so test the ones you actually use rather than relying on a general claim. Use a few photos that matter to you: a product with a printed label or logo, something with hair or fur, and one with a busy background.
- Run each photo through the tools you want to compare and download the results at the largest size each offers.
- Zoom to 200 percent on the label or logo and compare it with the original. Look for changed letters, shifted lines, or invented detail.
- Place each result over a checkerboard or a dark color. Check whether you got real transparency or a background painted into the image.
- Run the same photo through each tool twice and compare the two outputs.
- Note how long each result took and how much clean-up it needed before you could use it.
When to use each
The two can also work together: cut the product out with segmentation, then place the untouched cutout on a generated background so the product itself is never redrawn.
| Goal | Better fit | Why |
|---|---|---|
| Product cutouts for listings and catalogs | Background remover | The product's pixels come from your photo |
| Keeping labels, logos, and fine text unchanged | Background remover | The tool hides background; it does not redraw the subject |
| A transparent PNG to reuse in several layouts | Background remover | Outputs a real alpha channel, including soft edges |
| A new scene, lighting, or style around the subject | Generative editor | It can create content that was not in the photo |
| Removing or adding objects in the picture | Generative editor | Segmentation can only hide pixels, not create them |