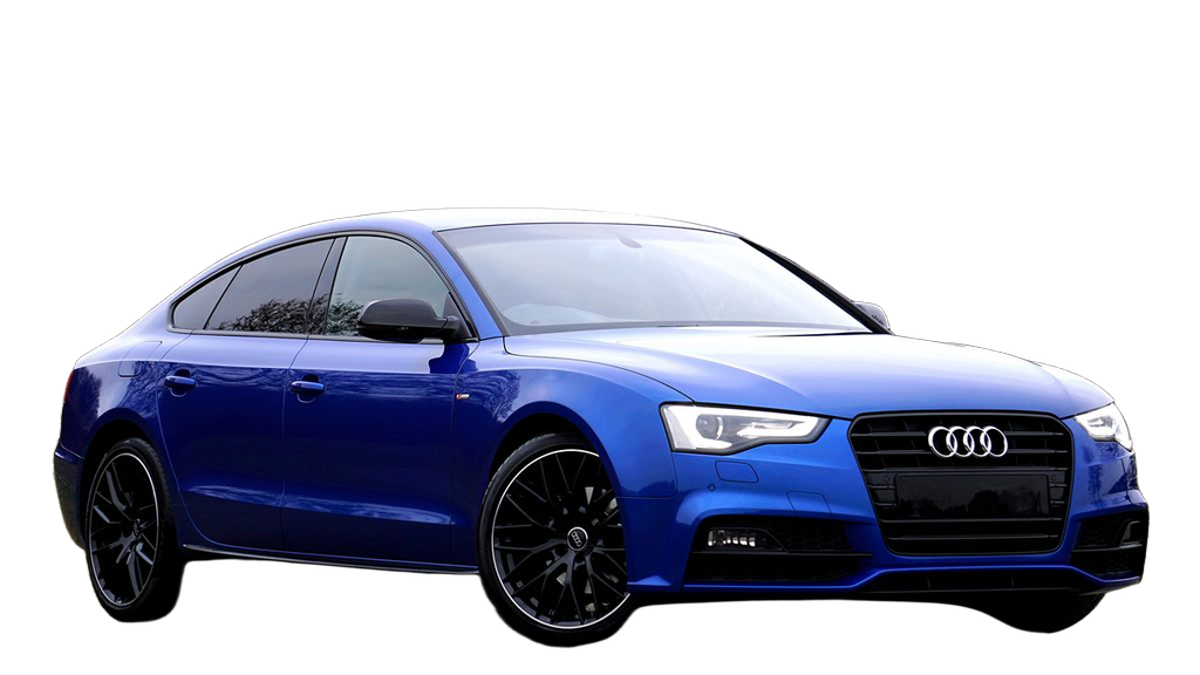
What happens to a car photo after automatic removal
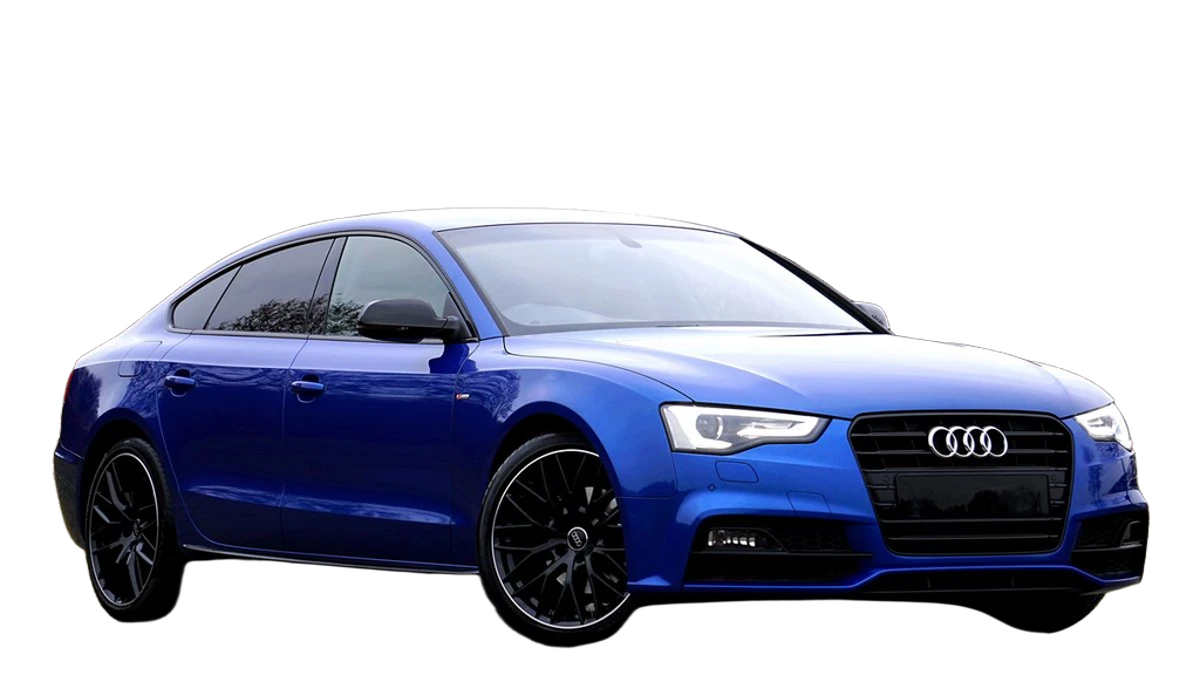
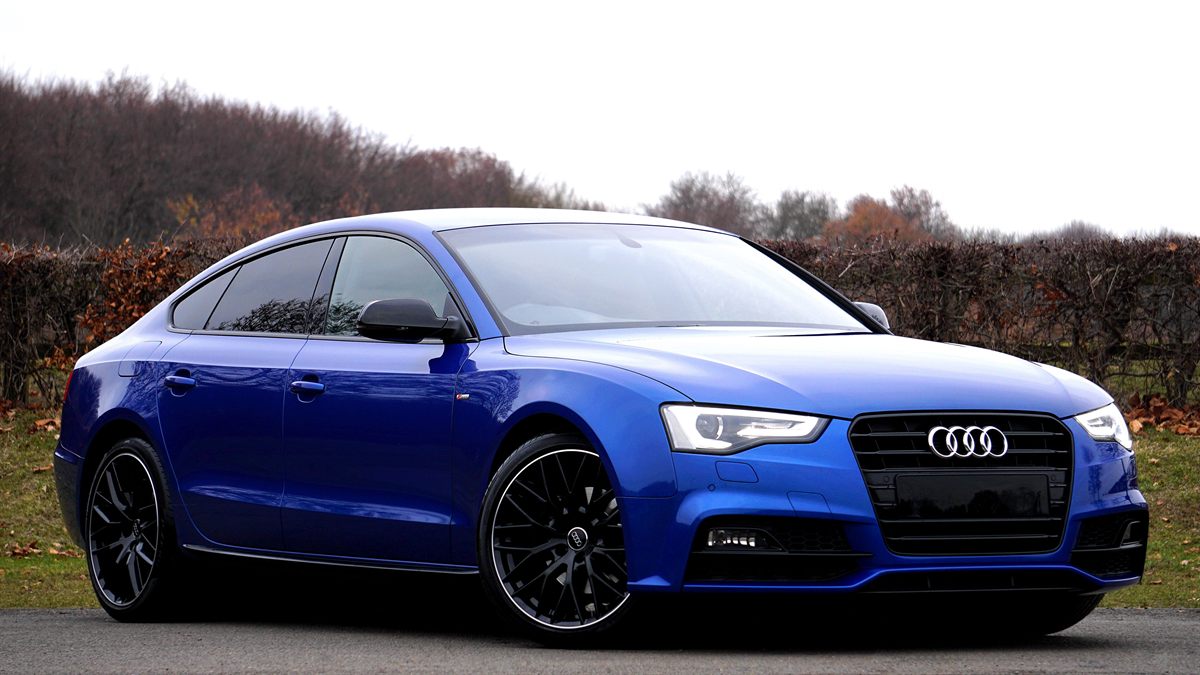
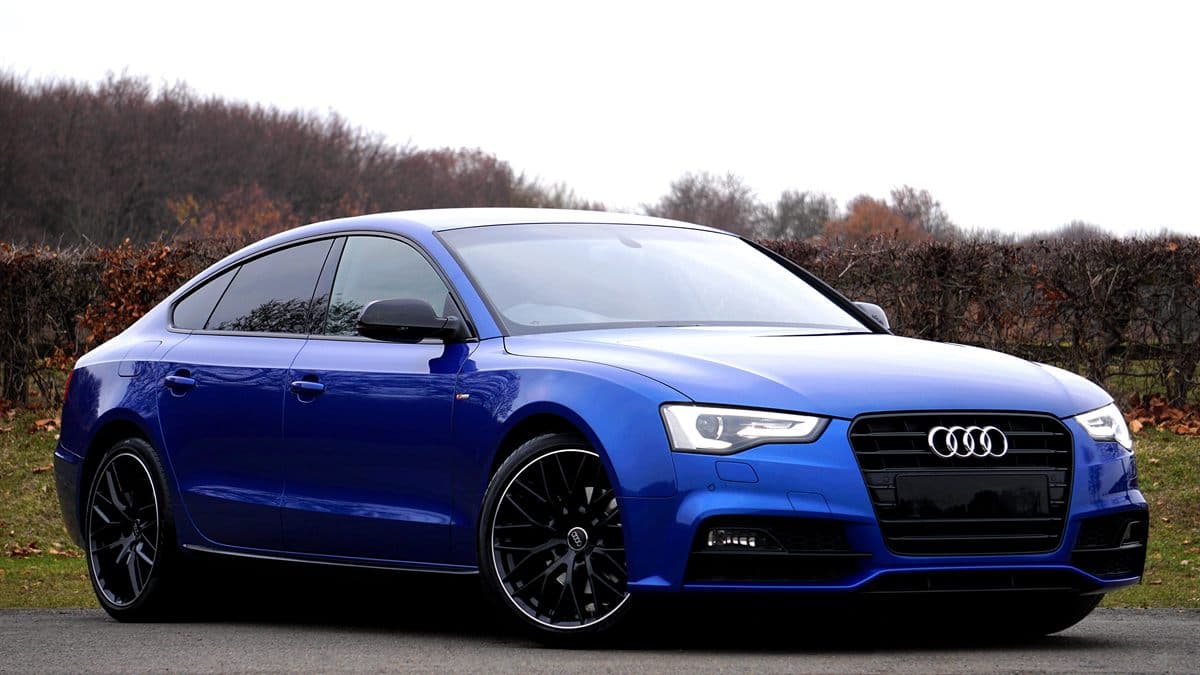
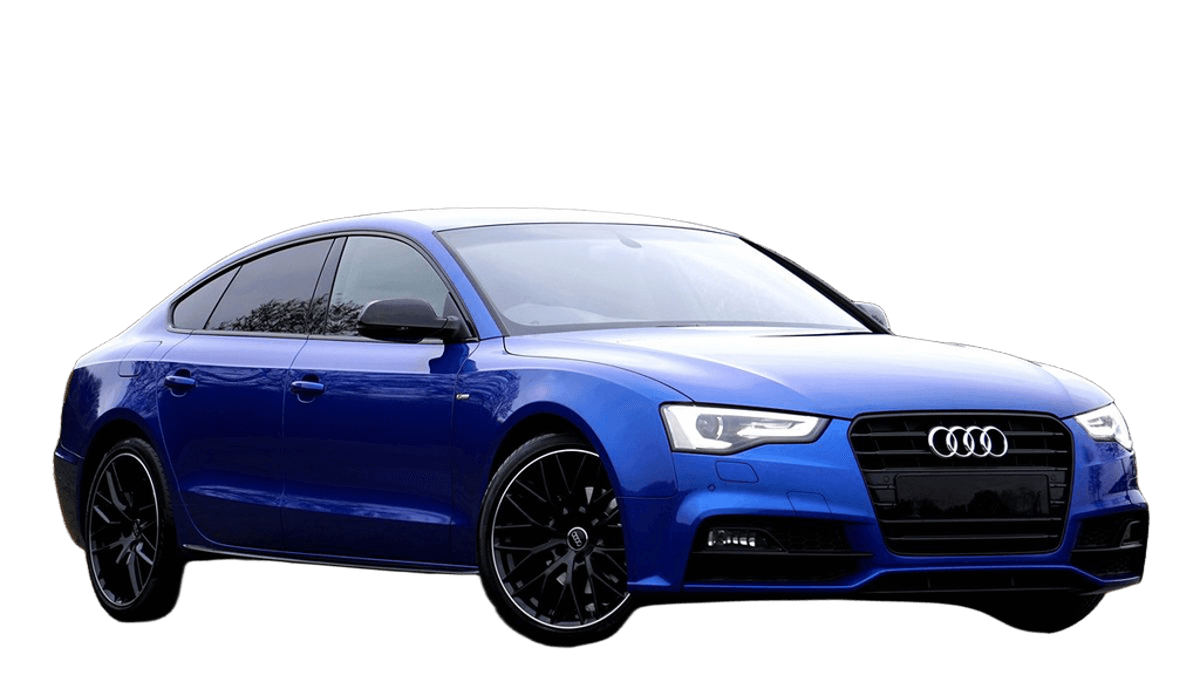
The sample is a 1200 by 675 pixel photograph of a blue Audi A5 Sportback parked on a country road under an overcast sky. After automatic removal, the body, mirrors, badge, lights, grille, and both visible wheels are kept, and the road, hedge, grass, and sky are transparent. Viewed over magenta, the gaps between the wheel spokes stay filled with the dark brake and arch area behind them, which is correct: that is part of the car, not the background.
Two regions need a deliberate decision rather than a quick erase. The side windows and windscreen are treated as solid, so the hedge and sky visible through and reflected in the glass remain inside the cutout. And the dark road shadow under the side sill and front bumper is kept as a band that connects the tyres to where the ground used to be.
Decide what to do with the windows
Most dealer and marketplace images keep tinted windows opaque, and that usually looks natural on white or a neutral color. The problem appears when you place the car in a new scene: trees or buildings recorded through the glass no longer match what is behind the car.
Erasing the glass does not fix that. It produces a car with see-through holes and no interior, which looks wrong at listing size. If the scenery inside the windows clashes with your new background, either keep a plain backdrop, or darken the glass in a dedicated photo editor so it reads as tint rather than as a view.
Keep, trim, or replace the ground shadow
A car without any contact shadow looks like it is floating. The retained road shadow grounds the car, but on a pure white canvas its hard lower edge can look like a black slab under the bumper.
- Open the result with Edge check and view it on white and on a dark color. Find where the shadow band starts below the sill and bumper.
- If the band looks heavy, choose Erase, turn on Soft edge, and trim it back toward the tyres in a few short strokes. Leave a little shadow under each tyre.
- If you remove it completely, add the Shadow slider in the export panel at a low setting so the car does not float. Check that the new shadow falls in a plausible direction for the backdrop.
- If you erase too much of a tyre or the lower bumper, switch to Restore area and paint it back from the original pixels.
Fine detail to inspect before you export
Wheels, mirrors, antennas, roof rails, and spoilers are the usual places where background survives or a real part disappears. Zoom to 200 percent and use the Fine brush for spoke gaps and thin trim. Only erase background you can see in the original; dark gaps inside a wheel are often the brake disc or arch, not the road.
| What you see | Likely cause | Fix |
|---|---|---|
| Road or grass visible between spokes | Bright background behind an open wheel design | Erase at 200 percent with the Fine brush, one gap at a time |
| A mirror or antenna is missing | Thin part with low contrast against the scene | Restore area with a small brush, then recheck on dark and light backgrounds |
| Another car or person is kept | Several objects overlap in the frame | Erase the extra object, or in the API pass roi to keep only the region you want |
| Scenery visible inside the windows | Glass reflects and transmits what is behind it | Keep a plain backdrop, or retouch the glass separately; do not erase it |
| Pale outline around the roof on dark backgrounds | Bright sky blended into the soft edge | Try Clean edge colours, then trim the remaining rim with Erase and Soft edge |
Shoot car photos that cut out cleanly
Park with clear space around the car so no other vehicle, post, or person overlaps its outline. Keep the whole car in frame, including the bottom of the tyres. Overcast light, as in the sample, keeps reflections soft; strong sun puts bright highlights and hard shadows on the paint that a background remover keeps because they are part of the car.
Shoot the same angles for every vehicle, such as front three-quarter, side, and rear three-quarter. Consistent angles make a listing gallery look uniform once all the backgrounds match.
Export for a listing
Use the Landscape preset for 1920 by 1080 images or Marketplace for a 2000 by 2000 square, then pick white, a solid color, a gradient, a blurred version of the original, or your own background photo. Keep a transparent PNG master so you can produce other sizes later without removing the background again. Check each marketplace's current image rules before uploading; they differ and change.
For inventory feeds, the HTTP API accepts the same photo and returns the cutout. It does not add the generated car shadows that some other services offer, so plan to keep the original contact shadow or add your own in your pipeline.